Homemade Bathroom Cleaner: 3 Simple Recipes Made Easy
Learn how to make your own bathroom cleaner with just a few ingredients, and enjoy the results of a sparkling clean atmosphere in no time.

Keeping a clean bathroom can be a tough task, especially when you want to steer clear of harsh chemicals that can harm both you and the environment. That's why we put together a list of three simple recipes for eco-friendly, homemade bathroom cleaners that will save you time, money, and worry.
In this blog post, we'll explore the advantages of using DIY solutions, provide step-by-step instructions for creating three different cleaners, and offer tips for personalizing and safely storing your products. Get ready to transform your bathroom cleaning routine with these simple, yet effective, recipes!
Advantages of Using DIY Bathroom Cleaning Solutions:
The benefits of homemade cleaning products are numerous. For starters, they are incredibly versatile, allowing you to customize the solution to fit your specific needs.
Additionally, they are often less expensive than store-bought cleaners, and you have control over the ingredients that go into the products. When it comes to eco-friendliness, homemade cleaners are a clear winner since they typically use natural ingredients that are gentle on the environment and non-toxic to humans and pets.
Most eco-friendly cleaners use castile soap but there are some better options that you can put together from home. Here are three simple recipes for homemade bathroom cleaners.
Recipe #1: Versatile All-Natural Bathroom Cleaner
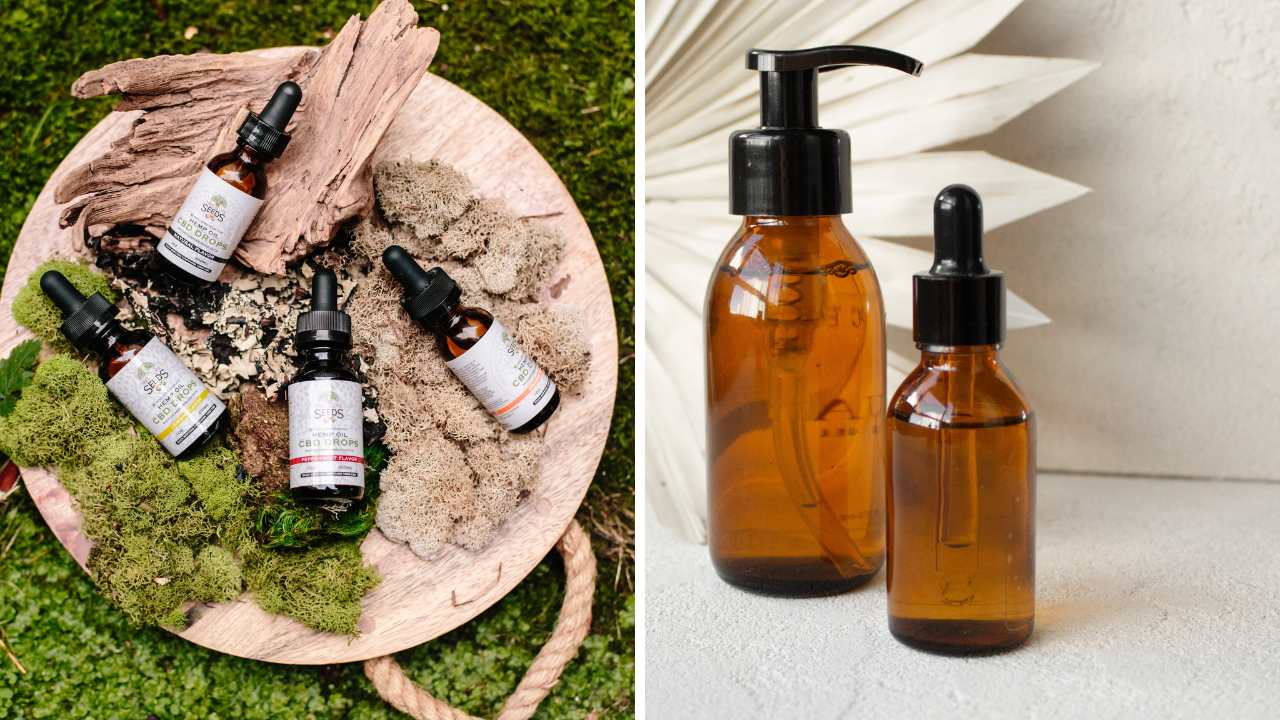
The first recipe we recommend is a versatile all-natural bathroom cleaner that can be used on multiple surfaces. To make this cleaner, you will need equal parts water and distilled white vinegar, as well as a few drops of your favorite essential or tea tree oil.
Combine the ingredients in a spray bottle and shake well before each use. This bathroom cleaner is perfect for wiping down countertops, sinks, and even the inside of your shower.
It can also be used as a homemade shower cleaner that can help you clean up soap scum on glass shower doors. Cleaning soap scum can be difficult but with the right tools you can knock it out in a breeze.
Some people may opt for apple cider vinegar over white vinegar but you should see similar results with either type.
Easy Preparation Steps for the All-Natural Cleaner:
When preparing your all-natural cleaner, it's important to mix the ingredients in a well-ventilated area. Be sure to label the bottle with the date it was made and include a list of the ingredients used. This cleaner has a shelf life of about six months when stored in a cool, dark place.
We like to store it in spray bottles as it is easy to grab and use whenever necessary. Just be sure to gently shake the bottle before each use.
Recipe #2: Powerful DIY Toilet Bowl Cleaner
Next up is a powerful DIY toilet bowl cleaner that will leave your commode sparkling clean. This recipe calls for only two ingredients: baking soda and white vinegar.
Start by pouring a cup of baking soda into the toilet bowl, followed by a few cups of white vinegar. Scrub the interior of the bowl with a brush and let it sit for about 15 minutes before flushing.
For better results, you can use hot vinegar to help break up any hard-to-clean areas. You can also be very liberal with the baking soda as it acts as an abrasive to help scrub. You won't have to worry about baking soda clogging anything as it washes away easily.
Maximizing the Toilet Bowl Cleaner's Effectiveness:
To maximize the effectiveness of this cleaner, pour the baking soda directly into the toilet bowl and then add the white vinegar, rather than mixing the two in a separate container.
When scrubbing, use a stiff-bristled brush to remove any tough stains, and flush twice to ensure all of the cleaner has been rinsed away.
Recipe #3: Gentle Yet Effective Tile and Grout Cleaner
Last but not least is a gentle yet effective tile and grout cleaner that will make your floors shine like new. For this recipe, you will need
- 1/2 cup of baking soda,
- 1/4 cup of hydrogen peroxide,
- One teaspoon of Dawn dish soap.
Mix all of the ingredients in a bowl and apply the mixture to the grout lines. Let it sit for about 10 minutes before scrubbing it with a stiff-bristled brush.
Rinse it with hot water and a damp cloth to remove any residue. Your floors should look like they were just installed!
Tips for Using the Tile and Grout Cleaner: When using this cleaner, be sure to wear protective gloves, as hydrogen peroxide can irritate your skin. Additionally, it's important to keep the mixture away from metal surfaces as it could cause corrosion. For more tips on getting tile and grout sparkling check out our guide.
Best Practices for Applying Your Homemade Tile and Grout Cleaner:
When applying your homemade tile and grout cleaner, be sure to wear gloves to protect your skin. It's also a good idea to test the solution in a small, inconspicuous area before using it on the entire surface.
For best results, apply the cleaner to the grout lines and scrub in a circular motion with a stiff-bristled brush. Rinse the area with warm water and repeat as necessary.
Bonus Recipe
Finally, we have a homemade glass cleaner that uses non-toxic ingredients. To make this solution, you will need:
- One cup of rubbing alcohol,
- Half a cup of distilled water,
- Two tablespoons of white vinegar.
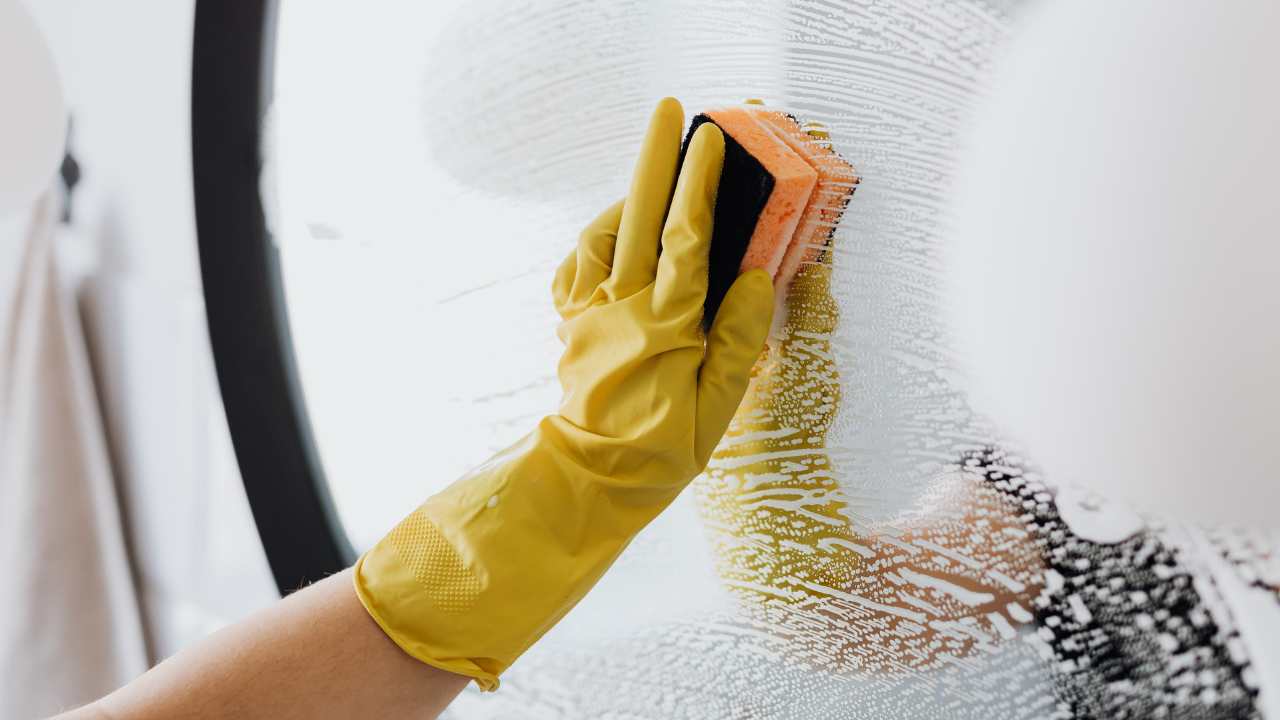
Combine the ingredients in a spray bottle and shake well before each use. This glass cleaner is perfect for windows, mirrors, and other glass surfaces.
Simply spray the solution on a glass surface and wipe it off with a lint-free cloth or paper towel. To avoid streaks, don't wait too long before wiping off the cleaner.
Personalizing Your Bathroom Cleaners with Aromatic Essential Oil
One of the best things about making your own bathroom cleaners is that you can personalize them with aromatic essential oils.
Not only do these oils add a pleasant scent to your cleaning products, but they also have therapeutic properties that can help alleviate stress, anxiety, and more. Some of the most popular essential oils for cleaning include lemon, lavender, peppermint, and tea tree.
Lemon juice can add a nice hint of citrus while adding more cleaning power. Simply add a few drops of lemon juice to any of the above cleaner recipes and you'll be good to go!
Important Safety Tips When Handling DIY Bathroom Cleaners
While DIY bathroom cleaners are generally safe, it's important to take some precautions when handling them. Always wear gloves and ensure that your workspace is well-ventilated. Never mix vinegar and bleach or add bleach to any DIY cleaning product. This can create harmful fumes that can cause respiratory problems. Finally, keep your homemade cleaners out of reach of children and pets.
Be sure to take extra care for natural stone tile as acidic cleaners can cause discoloration.
For more information on bathroom safety check out our top tips!
Proper Storage and Shelf Life
To make your DIY bathroom cleaners last longer, it's important to store them properly. Most homemade cleaners have a shelf life of about six months when stored in a cool, dark place.
Be sure to label your products with the date they were made and any specific instructions for use. Avoid storing your cleaners in direct sunlight or in areas with high humidity, as this can cause them to degrade more quickly.
Conclusion:
Transforming your bathroom cleaning routine with eco-friendly, homemade cleaners is easier than you think. With just a few simple ingredients and some basic know-how, you can create cleaners that are safe, effective, and gentle on the environment. Whether you're cleaning the toilet bowl or scrubbing tile and grout, these DIY bathroom cleaning solutions will get the job done without breaking the bank. So what are you waiting for? Give these recipes a try and see the difference for yourself!